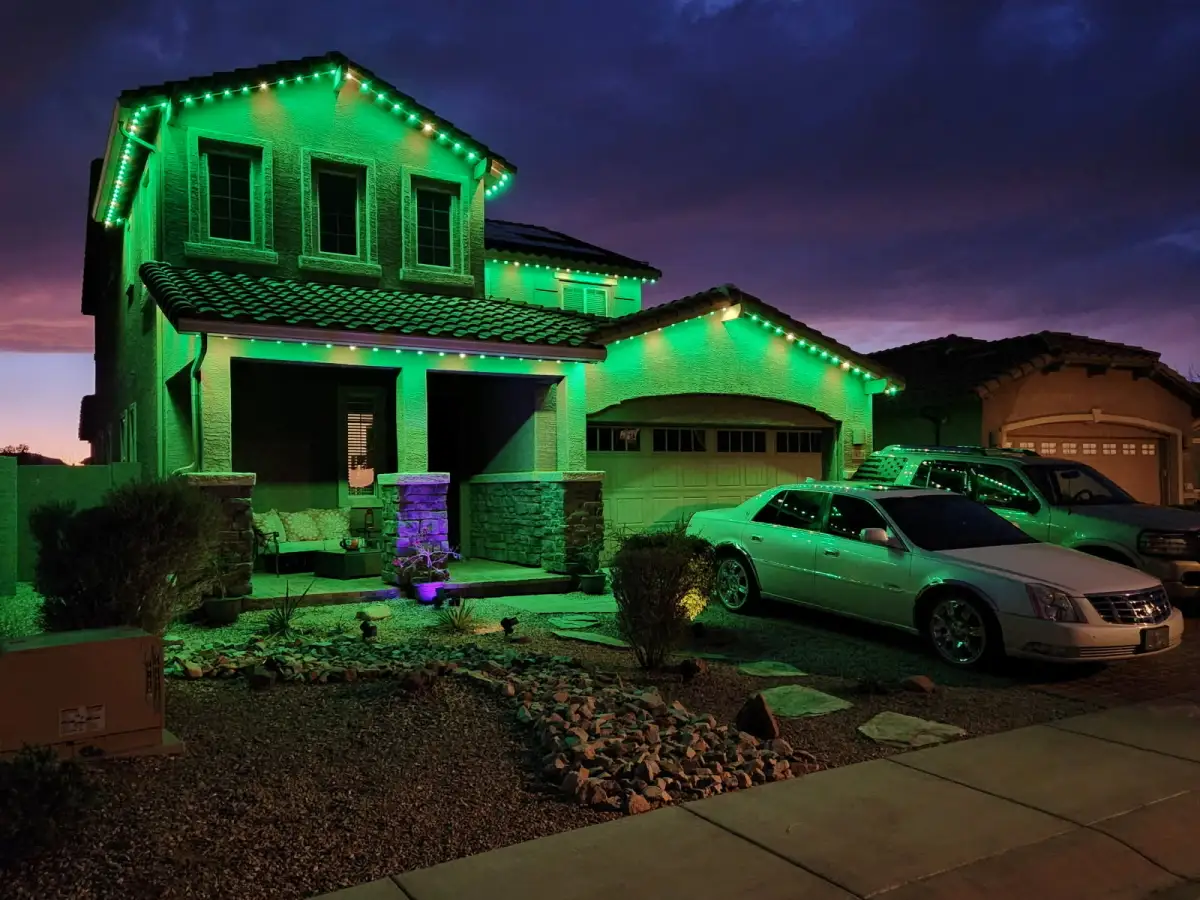
Permanent Outdoor Lighting Glare Omaha: A Better Design Checklist
Permanent outdoor lighting glare Omaha homeowners want to reduce should be addressed before fixtures or track locations are finalized. Start with the purpose of the light, aim it at the intended surface, use the lowest practical output, choose appropriate color and controls, and test important views from the home, street, and neighboring property. More light is not automatically better light. Good design makes the useful area easier to see without creating an unnecessarily bright source in someone’s line of sight.
Begin with the purpose of each light
Write a job for every lighting zone. One zone may support entry steps, another may mark an architectural line, and another may provide seasonal color. If a light has no clear purpose, it may add brightness without adding useful visibility.
A planning article on choosing permanent outdoor lighting can help homeowners organize the broader decision. For glare control, go one step further and identify the viewer, target surface, operating time, and desired effect for each zone.
Avoid asking one setting to do everything. Bright task lighting at an entry and low-level architectural accent lighting have different purposes. Separate controls make it easier to use only what the moment requires.
Aim light only where it is useful
DarkSky International’s Five Principles for Responsible Outdoor Lighting emphasize that outdoor light should be useful, targeted, low level, controlled, and warm-colored where appropriate. Those principles offer a practical review framework without prescribing one product for every home.
Glare occurs when a bright source is visible and interferes with comfortable vision. Light trespass occurs when illumination reaches places where it is not intended. Shielding, fixture placement, aiming, mounting position, and output all influence those effects.
For roofline or trim lighting, ask where individual emitters will be visible from sidewalks, driveways, bedrooms, and nearby homes. For landscape lighting, review beam direction and shielding. Do not aim light into the sky or across a property line when the intended surface is below or nearby.
Use the lowest practical light level
Brightness should fit the task and setting. A system that looks balanced during installation at dusk may feel harsh late at night when surrounding light levels are lower. Dimming and scene controls let the same installation operate at a more appropriate level for different uses.
Begin lower and increase only when a real need remains. Evaluate contrast, not just output. An extremely bright accent can make adjacent areas appear darker and can draw attention away from steps or entries.
Review examples of outdoor lighting ideas for Omaha homes for design context, then test the proposed scene on the actual property. Photographs can misrepresent brightness because phone cameras automatically adjust exposure.
Choose color and controls deliberately
Color temperature affects appearance and visual comfort. DarkSky’s principles favor warmer-colored light when it can meet the purpose. Permanent color-changing systems should also provide restrained everyday scenes, not only saturated holiday effects.
Ask how the system handles dimming, schedules, zones, saved scenes, and manual override. Confirm whether each area can operate independently. A timer or automation should match household routines instead of running at full output all night without a reason.
Controls also help prevent accidental nuisance. Set default scenes that are useful and modest. Reserve brighter or animated settings for appropriate occasions and times. If an app or network connection is involved, ask what functions remain available when connectivity changes.
Test views from inside and outside
A curbside check is not enough. Stand at the front walk, driveway, street, side yard, patio, and property edges. Then look from bedroom windows, living spaces, and home-office positions. A source hidden from one angle may be prominent from another.
Test at more than one output level and scene. Look for bright points reflected in windows, glossy siding, vehicles, water, or light-colored surfaces. Check whether the lighting draws attention toward safe circulation or away from it.
Landscape lighting deserves a separate view test. The landscape lighting guide provides related context, but aiming must be verified on site after dark. Plants grow and seasonal conditions change, so future adjustment may be part of responsible maintenance.
Coordinate permanent lighting with the property
Map gutters, roof edges, trim, downspouts, vents, cameras, utility equipment, trees, and planned exterior work. Lighting locations should not obstruct drainage, damage building components, or create difficult maintenance conflicts.
Discuss attachment methods and cable routing. Ask how penetrations, exposed wiring, power supplies, controllers, and service access will be handled. The installation should follow product instructions and applicable electrical requirements. An article cannot determine those details for a specific home.
Consider neighbors before the final scene is programmed. A respectful design keeps the intended effect on the homeowner’s property. If a neighbor’s bedroom or outdoor space faces the installation, a lower output, different zone, schedule, or aiming decision may solve a problem before it starts.
Use an Omaha design review checklist
Before approving the design, confirm:
1. Every zone has a stated purpose.
2. The intended target and viewing angles are identified.
3. Emitters and beams are directed away from the sky and neighboring property.
4. The lowest practical everyday output has been tested.
5. Warm and restrained scenes are available.
6. Dimming, scheduling, zones, and overrides are understood.
7. Important views from inside the home were checked.
8. Reflections from windows and vehicles were considered.
9. Attachment, wiring, power, and service access are documented.
10. A nighttime aiming and programming review is included.
There is no universal brightness setting. Product performance, operating time, installation, and property conditions vary. Ask for product documentation that matches the actual design.
Permanent lighting can be expressive without being intrusive. The strongest plan gives every light a purpose and every scene an appropriate time. To understand our background before discussing a property, visit the about page, then bring the checklist to a site-specific design conversation.
Keep the decision tied to the actual property
A public guide can organize questions, but it cannot inspect the site, verify concealed conditions, select a product, or replace the instructions and requirements that apply to the specific work. Keep photographs, measurements, product information, written assumptions, and approved changes together. When new evidence changes the scope, update the record before proceeding. This discipline makes later comparisons and maintenance easier because the final decision can be traced to the conditions that were actually observed.
Revisit the design after the first weeks
The first nighttime review should not be the last. After the household has used the system through ordinary evenings, check whether schedules match real routines, whether any scene is brighter than necessary, and whether light reaches windows or neighboring areas in an unintended way. Seasonal leaves, snow, wet pavement, and changes in surrounding darkness can alter perception.
Keep a restrained default scene and document how to adjust zones without resetting the entire system. If a camera, entry, or walkway needs more useful light, correct that specific zone instead of increasing every output. Ask how aiming, programming, or component service is handled after installation. Responsible outdoor lighting is an operating practice as well as an installation choice.
Keep the final scope, photographs, product or equipment information, and approved changes in one durable project file. Review that file during closeout and again before later maintenance. When a future condition differs from the original assumptions, pause and obtain property-specific guidance instead of extending an old decision beyond its evidence. Clear records do not replace qualified field judgment, but they help the owner and service team understand what was observed, what was selected, and which questions still require verification.